
You can sort and filter tables to make the displayed table information more relevant and easier to read. This page describes how to:
Note: Sort and filter configurations save between sessions, so your settings will remain, even after you close Xelix. Remember to check your sorting and filter options at the start of each session, to avoid confusion about previously filtered information.
Sort by Column Value
You can sort table entries in ascending or descending order, based on a given column’s values:
- Identify the column you want to use to sort the table.
Note: You can only sort the table one column at a time. - Hover your mouse over the column header to display the sort icon. The icon turns purple when you hover over it.
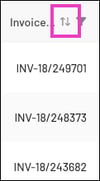
- Click the sort icon to toggle the sorting to ascending, descending, or chronological order. The table immediately updates to reflect the selected setting:
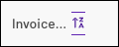
- Ascending: Sorted in ascending order, from A to Z / lowest to highest values. When sorted in ascending order, the icon displays a down-arrow to indicate the ascending sort.
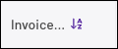
- Descending: Sorted in descending order, from Z to A / highest to lowest values. When sorted in descending order, the icon displays an up-arrow to indicate the descending sort.
- Chronological Order: Sorted chronologically, in the order that each item was added to the system. When sorted chronologically, the sort icon disappears.
- Ascending: Sorted in ascending order, from A to Z / lowest to highest values. When sorted in ascending order, the icon displays a down-arrow to indicate the ascending sort.
Filter by Column Value
Each table includes column filters, which enable you to filter table entries by specific column values. To see common filter formats (which appear for different types of filters), see Filter Types.
You can filter tables using the following two methods:
Note: You can apply multiple filters at the same time.
Filter Types
This section outlines some of the common filter formats which appear for different types of filters:
Note: Some filters include toggles that enable you to apply a preset option to the filter (e.g., the Open filter in the Transactions module, Duplicate Invoices tab includes a toggle to Only show matching pairs, etc.).
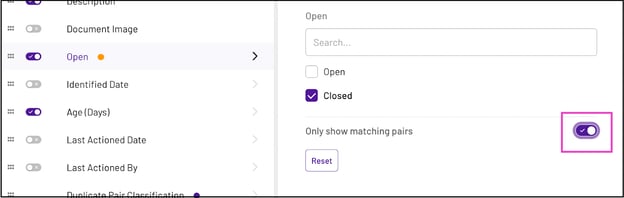
Filter by Text Value
Text filters enable you to filter table entries from a list of values related to the selected column (e.g. Vendor).
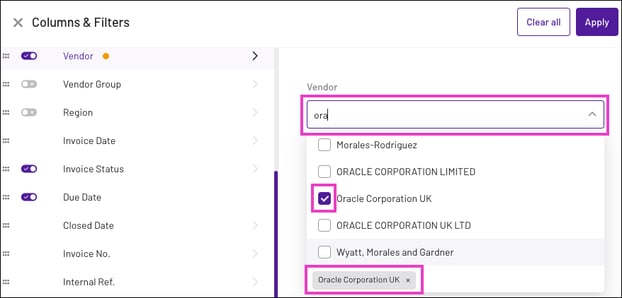
Note: You can optionally enter characters in the search field to quickly identify an available option in the list.
Filter by Numeric Value
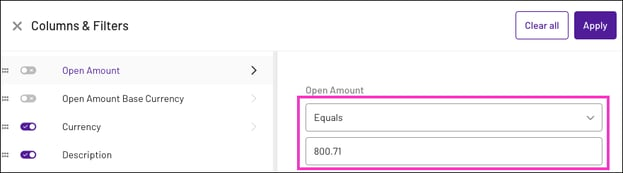
Numeric filters enable you to filter all table entries by a rule, comprised of the following:
- Operator: Operator for the table to compare table values with the set value (e.g. Equals)
- Value: Date or date range for the filter to use as a marker (e.g. 800)
Filter by Date
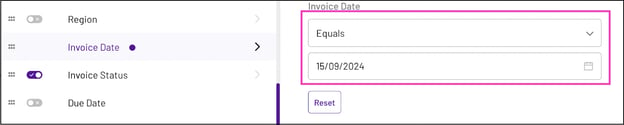
Date filters enable you to filter displayed items by a rule, comprised of the following:
- Timeframe: Whether the table displays items from before, after, or during the provided date or date range (e.g. Before)
- Date: Date or date range for the filter to use as a marker (e.g. 15/09/24)
Filter Columns Using the Choose Filters Popup
To filter columns using the Choose Filters popup:
- Identify the column where you want to apply a filter.
- Hover your mouse over the column header and select the filter icon. The icon turns purple when you hover over it.
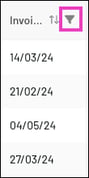
Note: If a column can’t be filtered, the filter icon does not appear in the column header. - Click the filter icon to display a filter popup where you configure the filter.
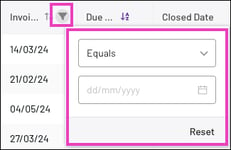
Note: The displayed filter options depend on the selected column. - Configure the filter as needed.
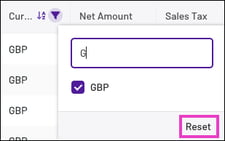
- To deselect the column's filter value(s), select the column’s filter icon and click Reset at the bottom right.
Filter Columns Using the Columns and Filters Menu
To filter columns using the Columns & Filters menu:
- Above the table, click Columns & Filters to open the Columns & Filters menu.
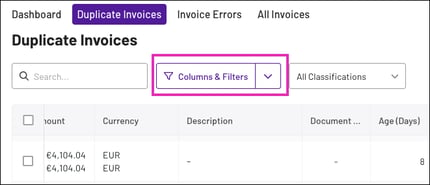
- Locate and select the column you want to filter. The filter options appear to the right.
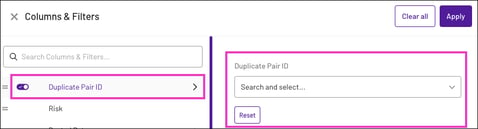
Note: Columns that can’t be filtered do not have an arrow to the right of the column header.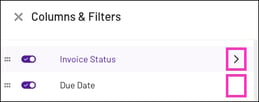
- Configure the filter as needed.
Note: When you change a filter, an orange dot appears next to the column header to indicate a filter change.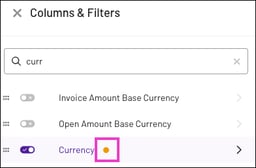
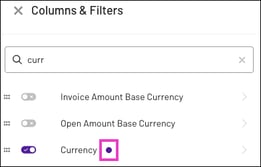
- Click Apply in the top-right corner to apply the filter(s) and close the Columns & Filters menu.
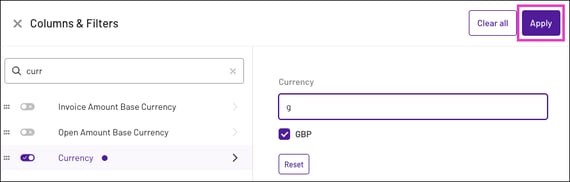
Note: After you apply the filters, the orange dot turns purple to indicate an active filter.