The Duplicate Invoices and Invoice Errors tabs provide the following features to help facilitate collaboration on invoice reviews and resolutions:
Add / Remove User Assignments
The Duplicate Invoices and Invoice Errors tabs enable you to assign a user to invoice issues that need to be resolved. The user is typically a point of contact who takes responsibility for the issue’s review and resolution.
The following sections describe how to:
Add a User Assignment
To add a user assignment:
- From the table, locate the invoice issue where you want to assign a user.
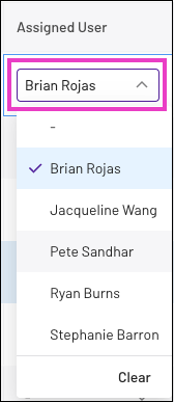
- In the Assigned User column, click the dropdown and select a user from the list. The column value updates to the selected name.
Note: When you assign a user, Xelix automatically generates a comment to note the assignment change.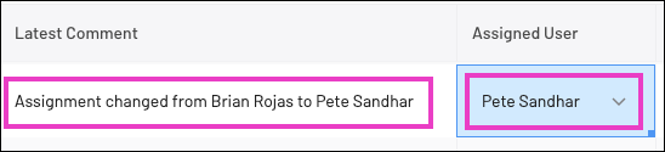
Remove a User Assignment
To remove a user assignment:
- From the table, locate the invoice where you want to remove the user assignment.
- In the Assigned User column, click the dropdown and select Clear.
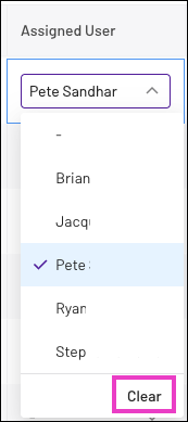
- The Assigned User column clears.
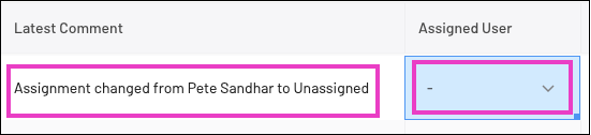
Note: When you remove a user, Xelix automatically generates a comment, to note the assignment change.
Manage Invoice Comments
The Comment column enables you to leave comments about invoice issues. Comments are tracked in a thread and include notes about invoice activity, so you can easily track changes and updates to the commented invoice issue.
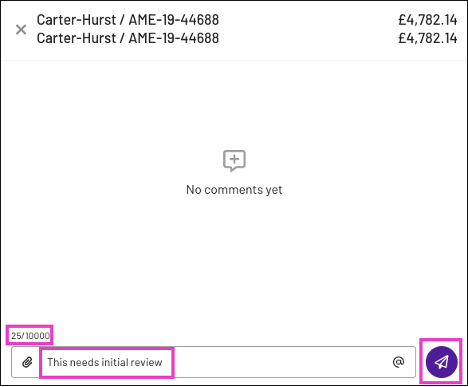
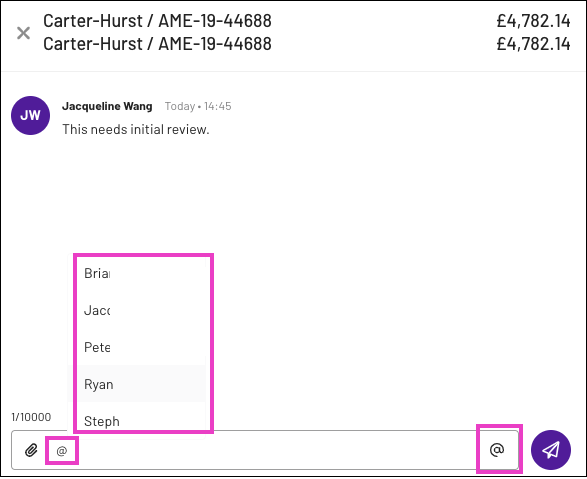
Note: Comments have a 10,000 character limit. The comment character count is shown above the comment input space.
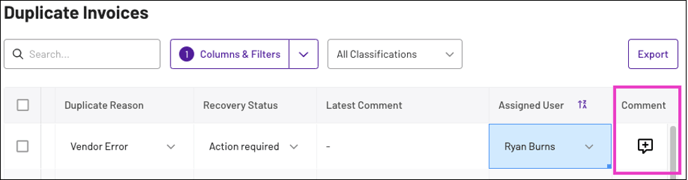
The following subsections describe how to:
View the Latest Comment in the Table
The Latest Comment column displays the most recent comment for each invoice issue, so you can more easily identify recent changes and monitor invoice updates.
To add the Latest Comment column to the table:
- Click Columns & Filters to open the menu.
- Enable the toggle switch next to the Latest Comment column.
- Click Apply to display the Latest Comment column in the table.

Add a Comment
To add a comment:
- Locate the invoice issue where you want to leave a comment.
- Navigate to the Comment column and click the message icon to open the comment pop-up.
- In the input field, enter a comment and click the send icon to add it to the comment thread.
- (Optional) To tag a user in a comment, either click the @ icon to the right of the text input field or type @, and select a user from the list that appears. The user will receive an email notification about the comment.
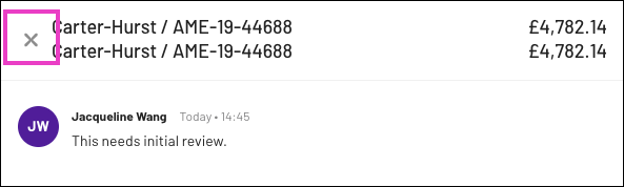
- Click the X icon in the upper-left corner to close the comment window and return to the table.
The comment icon in the table updates to indicate the number of comments in the thread.
Attach Files to a Comment Thread
Comment threads enable you to attach files related to the invoice issue:
- Click the paperclip icon located to the left of the text input field.

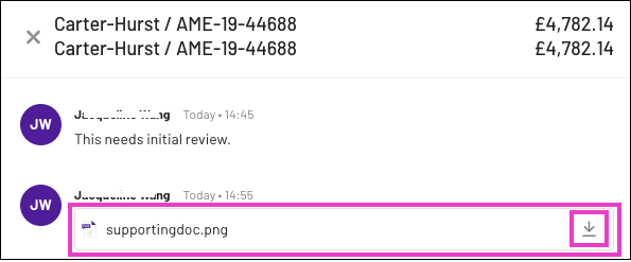
- When prompted, select the file you want to attach. The file is added to the comment thread as a unique entry. The download icon to the right enables users to download and view the file.
Remove a Comment
To remove a comment from the thread:
- Locate the comment you want to remove and hover over it until a trash icon appears.
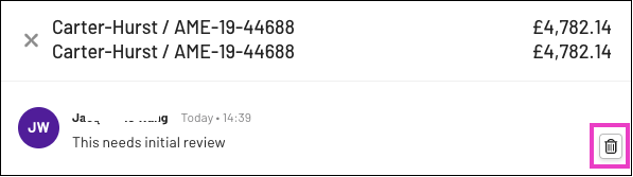
- Click the trash icon to delete the message. An alert briefly appears, indicating the comment was deleted.

- Click the X icon in the upper-left corner to close the comment window and return to the table.
The comment icon in the table updates to indicate the number of comments in the thread.